Rome makes history feel immediate. Turn a corner and you find a centuries-old piazza. Step into a church and discover a masterpiece. Walk among ruins that once stood at the center of an empire. Here, fountains, churches, monuments, and ancient streets are not separate attractions; they are part of the city itself.
A visit offers grand architecture, remarkable art, and the pleasure of exploring streets shaped by generations.
Exploring the Heart of Rome
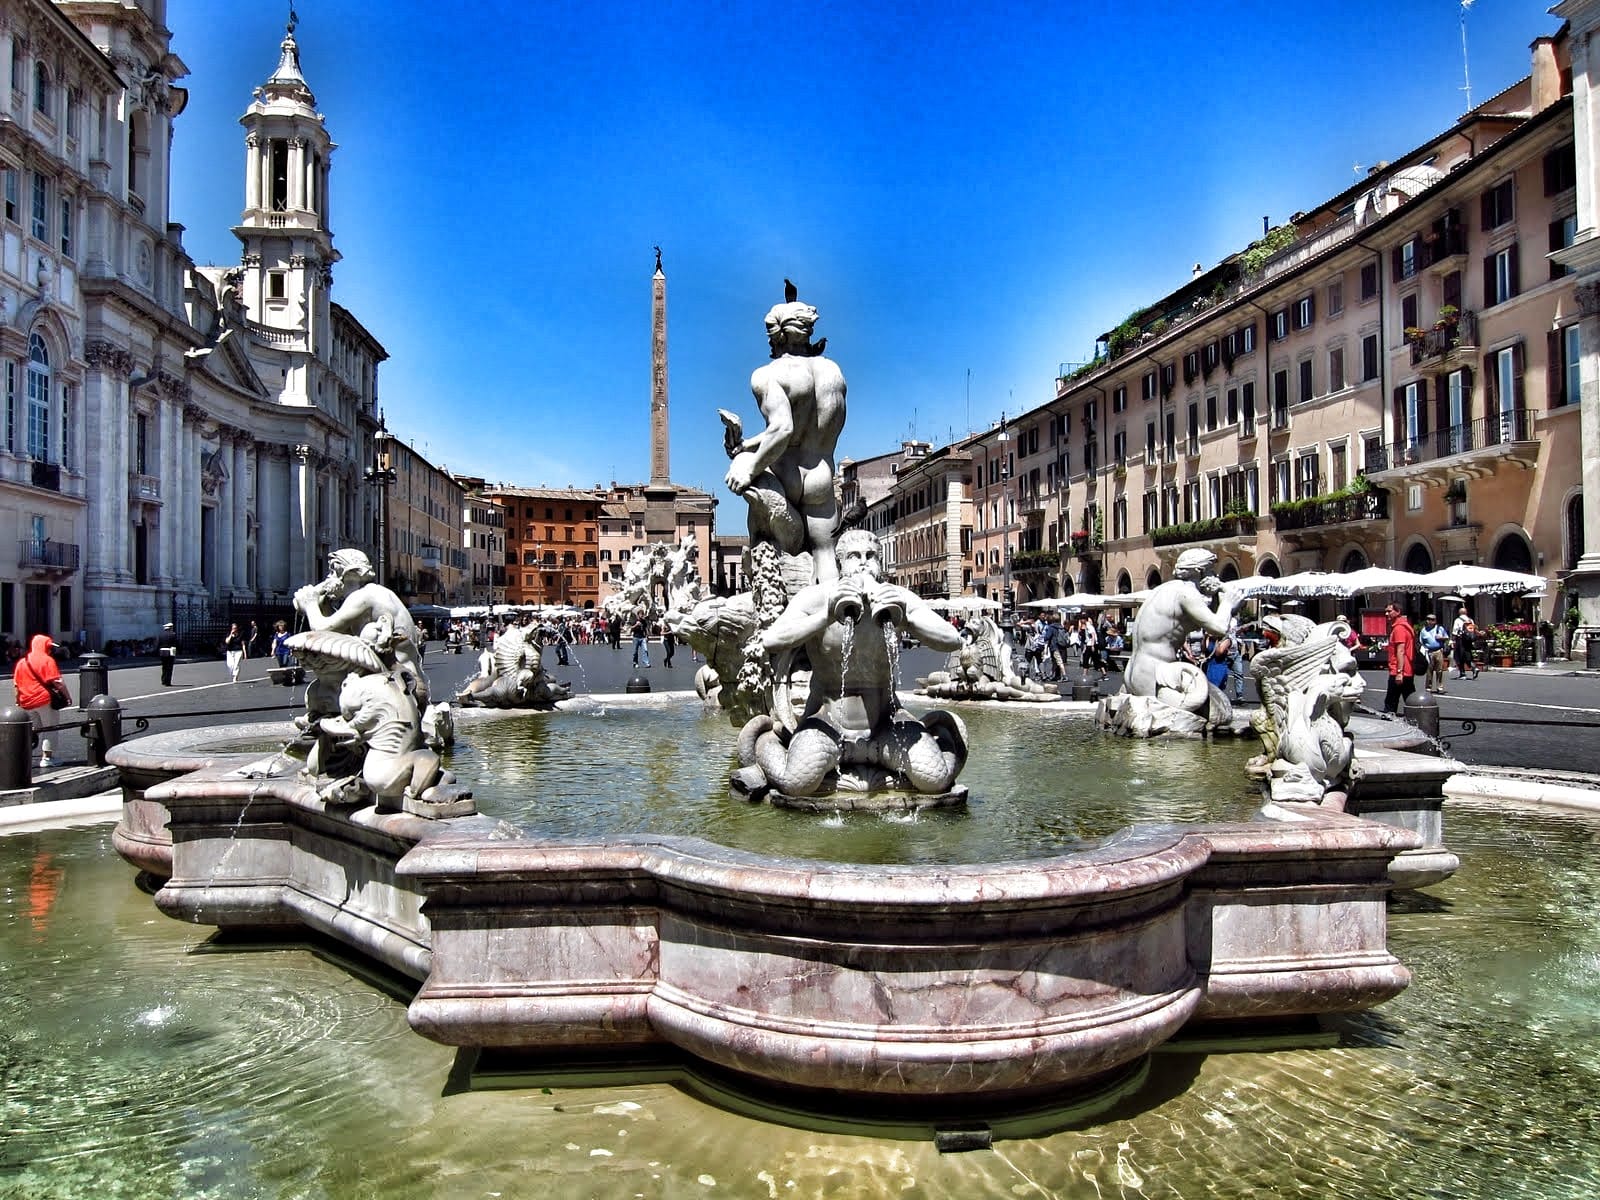
Piazza Navona is an ideal place to begin. Its fountains and elegant buildings frame a lively square that has drawn people for centuries. It invites you to slow down and take in the city.
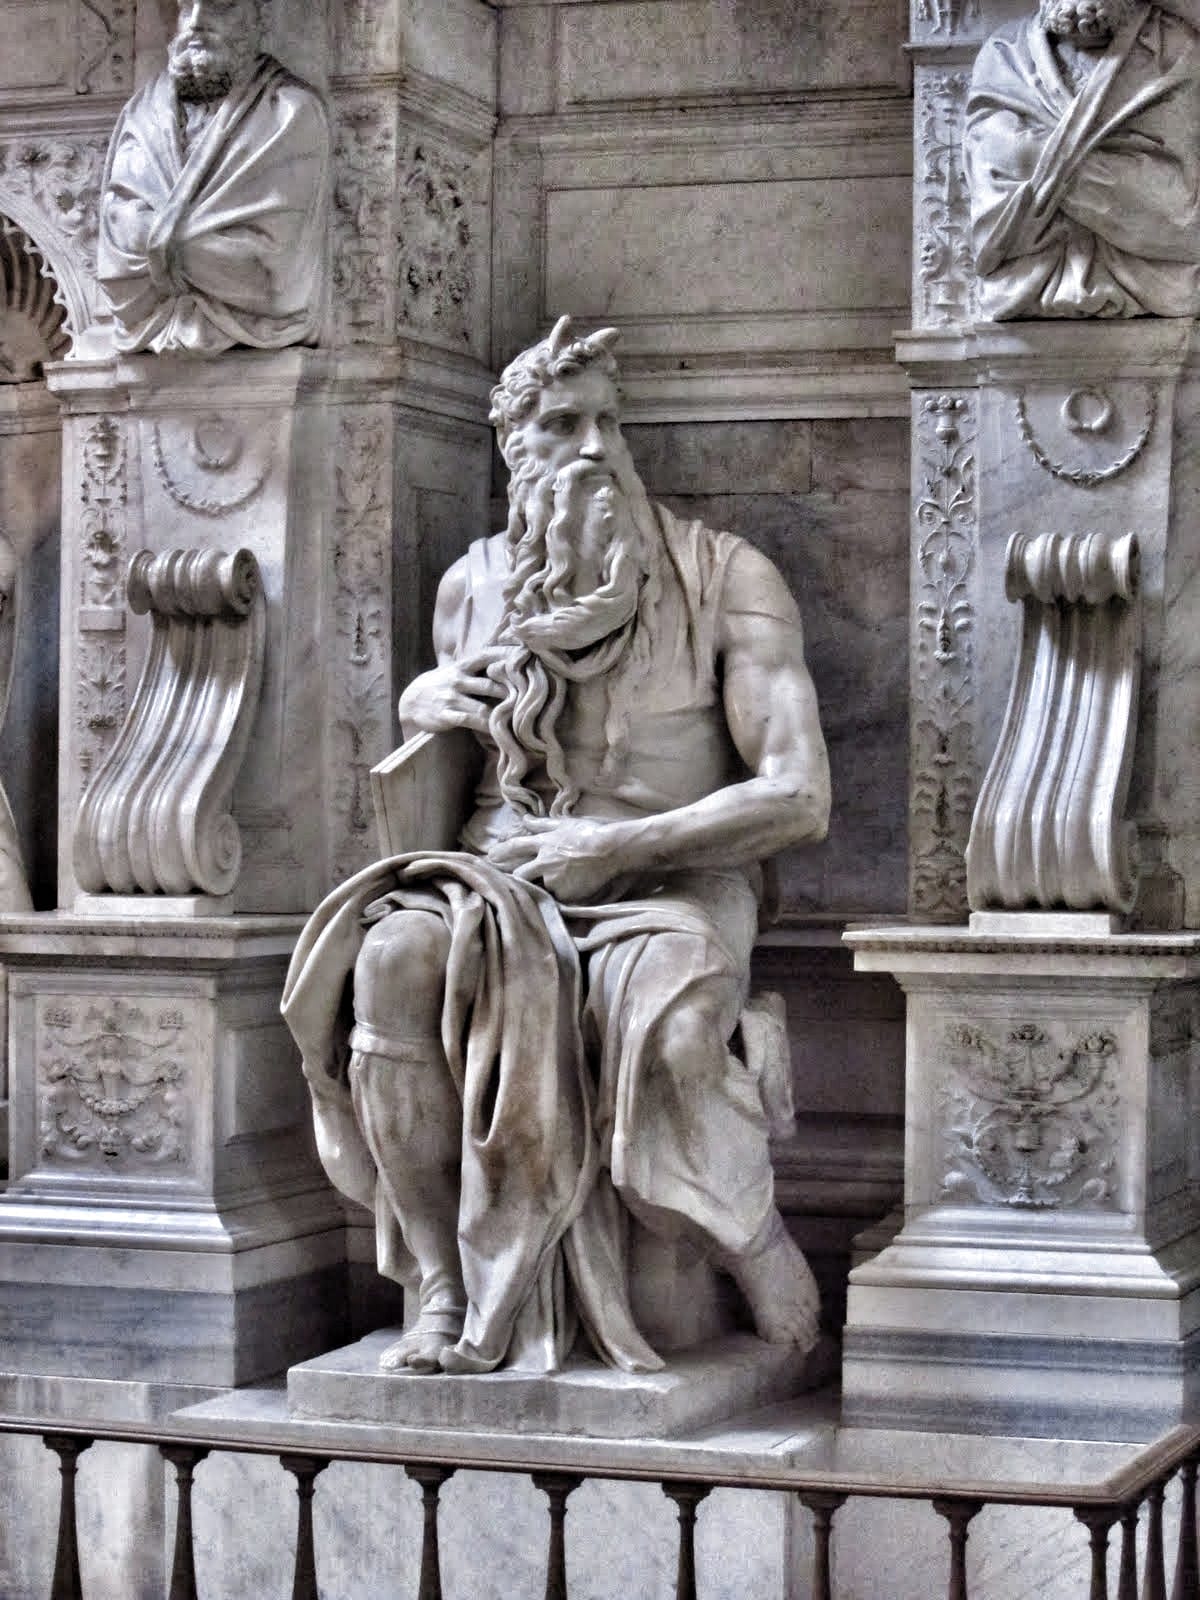
Some of Rome’s greatest works are tucked inside its churches. San Pietro in Vincoli, for example, houses Michelangelo’s statue of Moses. The sculpture’s detail and presence are extraordinary. In Rome, even a modest church can hold a world-class work of art.
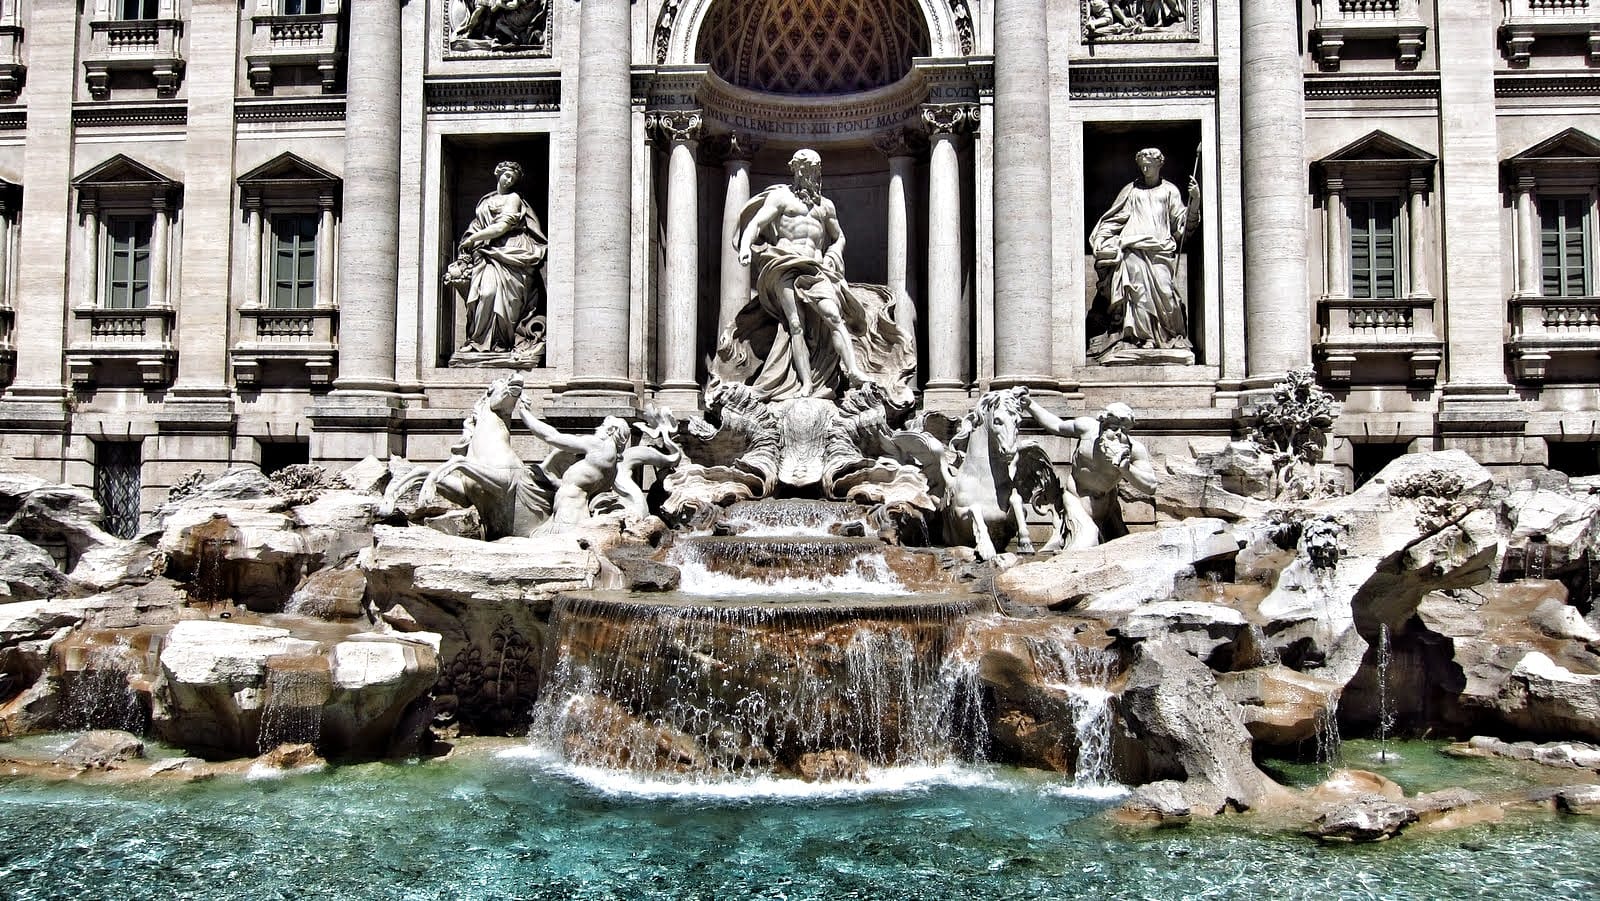
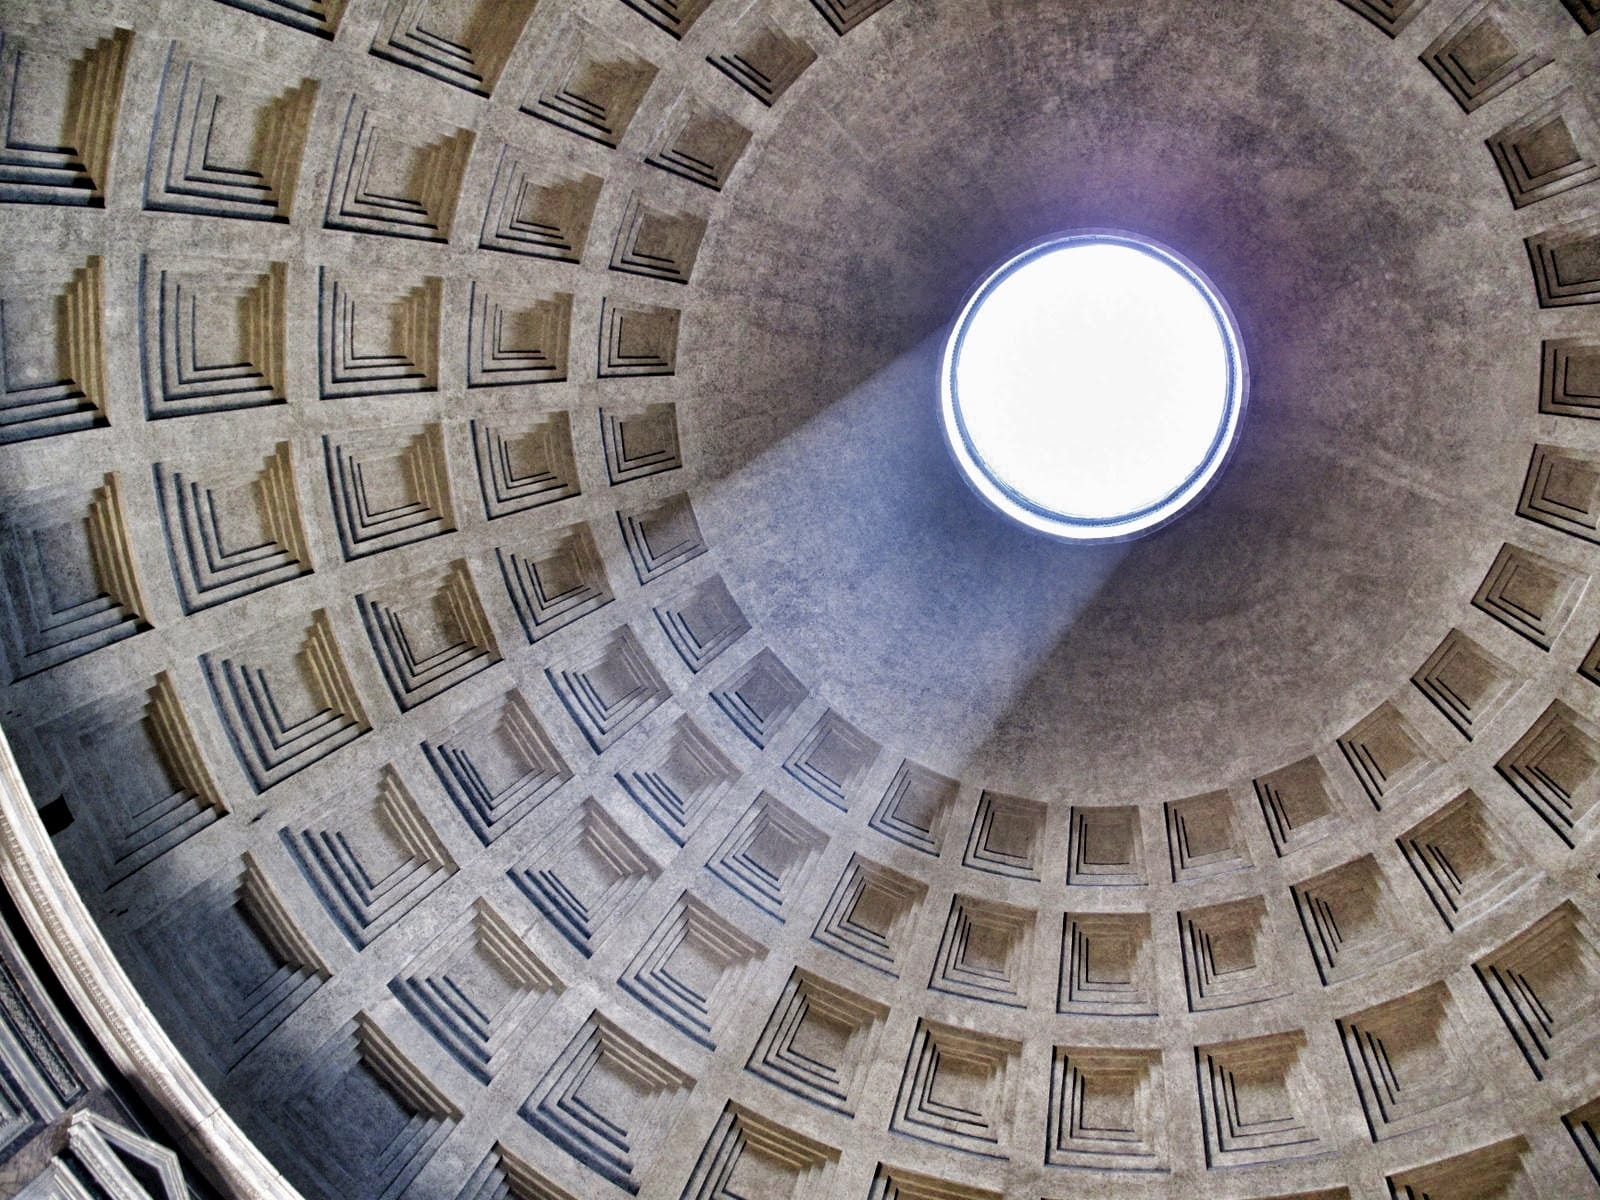
Other landmarks are familiar from photographs, yet more impressive in person. The Trevi Fountain, completed in the eighteenth century, stands out for its scale and elaborate design. The Pantheon reaches much further back: rebuilt under Emperor Hadrian and completed around AD 126, its vast dome and open oculus remain marvels of engineering.
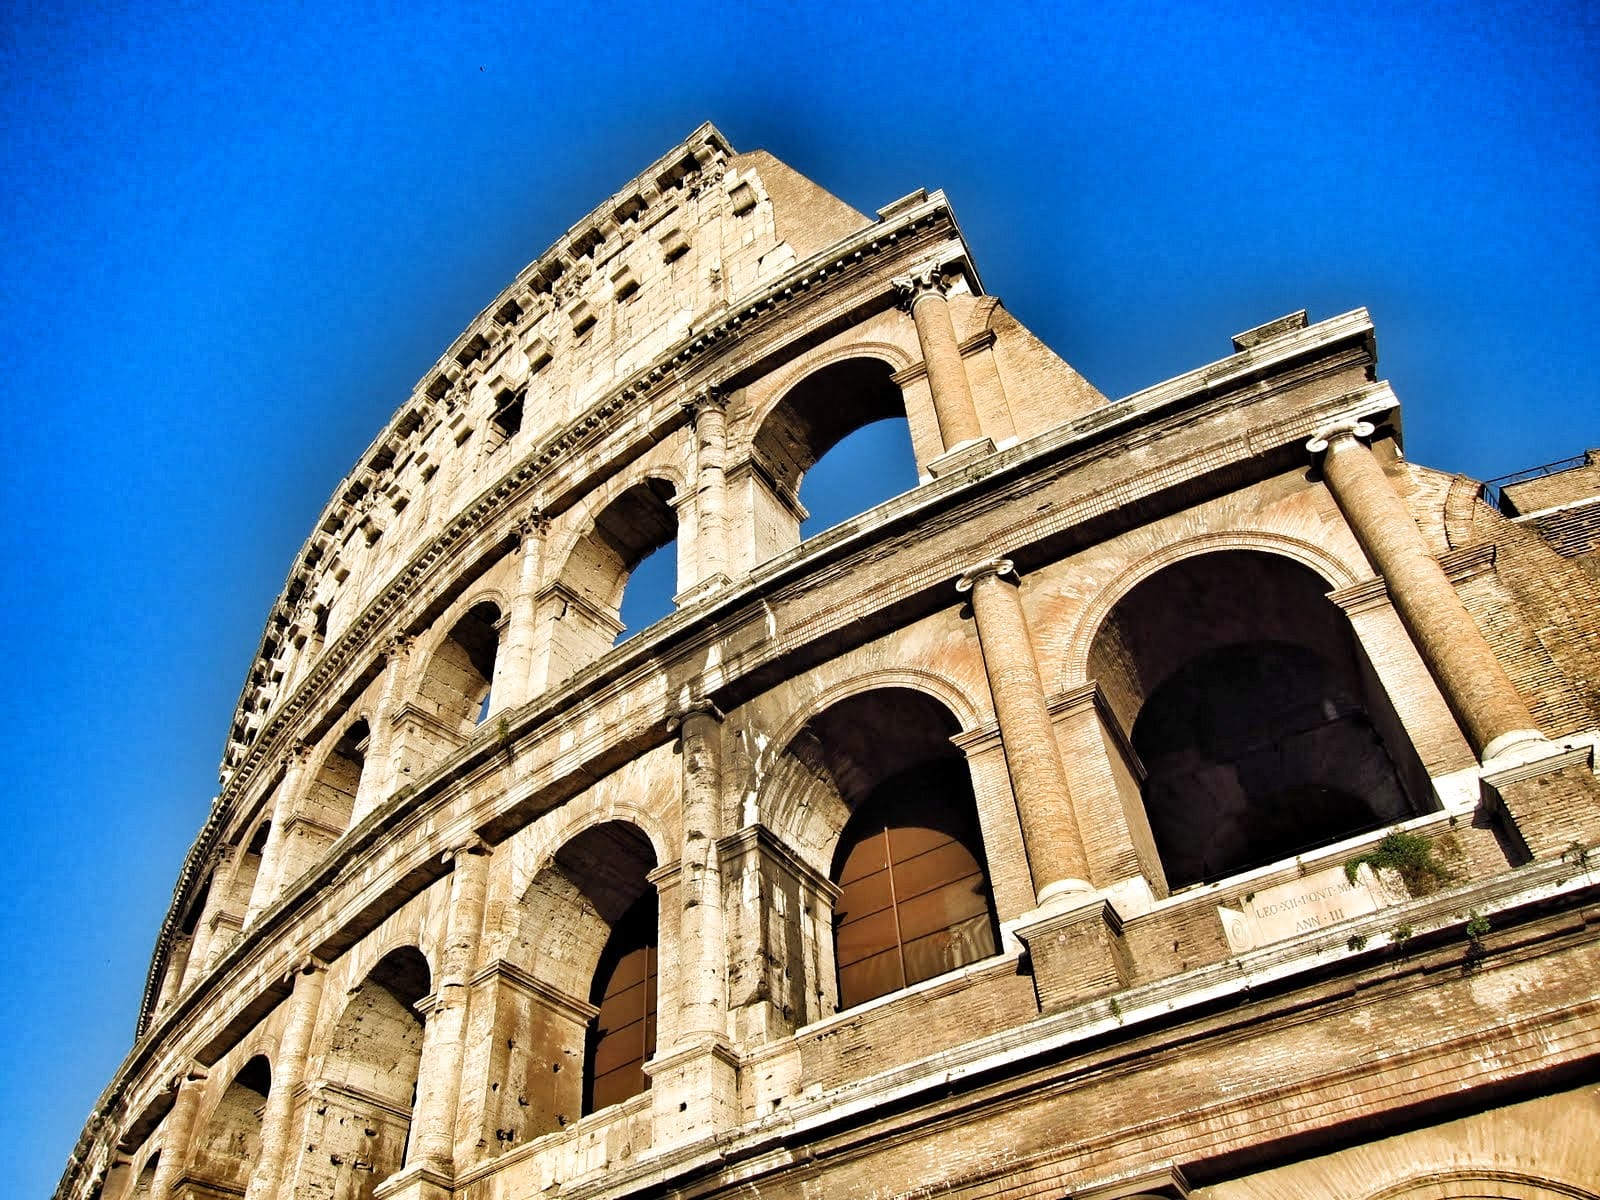
Then there is the Colosseum. Once the setting for spectacles before enormous crowds, it still conveys the ambition and scale of ancient Rome. Its weathered stone makes the empire’s history feel tangible.
The Piazza Navona, a city square in Rome.Michelangelo’s statue of Moses in the Church of San Pietro in Vincoli.The Trevi fountain; build in the 1700’s its not considered very “old”.The always-open Pantheon – build in 126 AD this temple honors all the Gods.The exterior of the Colosseum, an elliptical amphitheater in the center of the city.
The Roman Forum and the Vatican
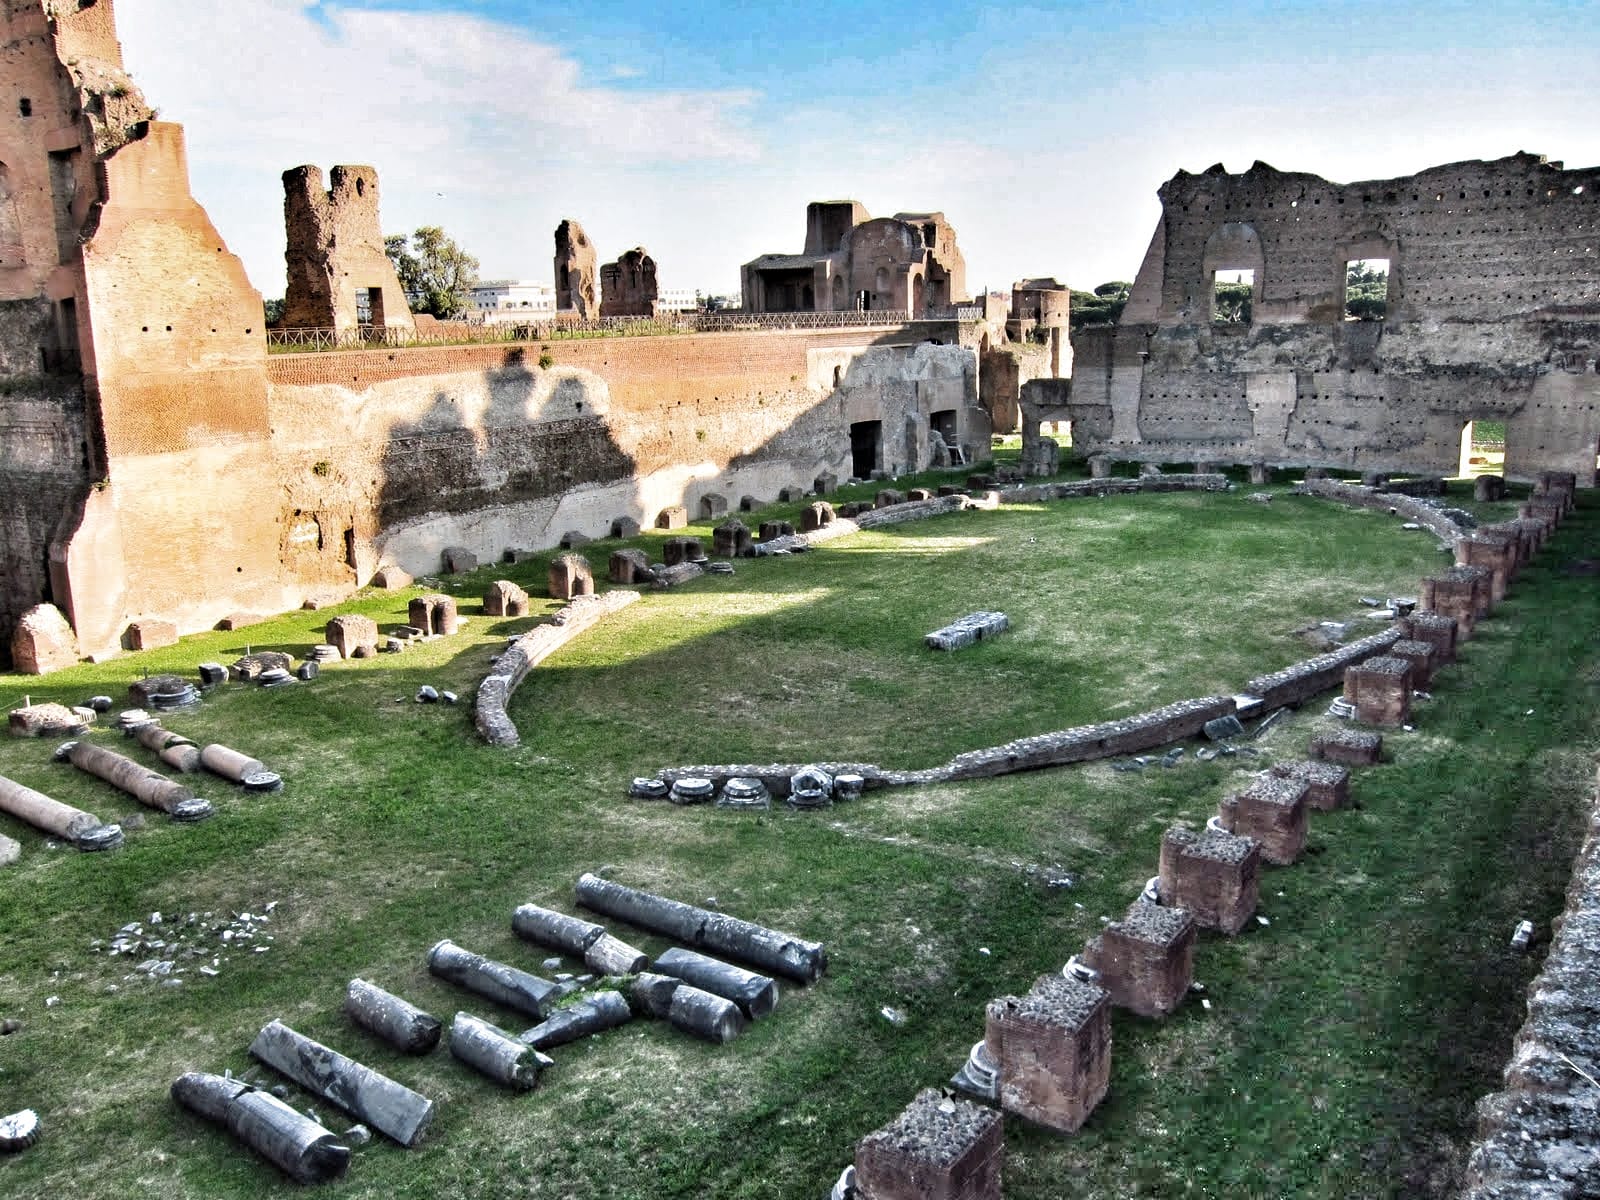
The Roman Forum was the center of public life in ancient Rome. Today, its columns, foundations, and fragments of buildings trace the outline of a place where politics, commerce, religion, and public gatherings once converged. Walking among the ruins, you begin to imagine the activity that filled these streets.
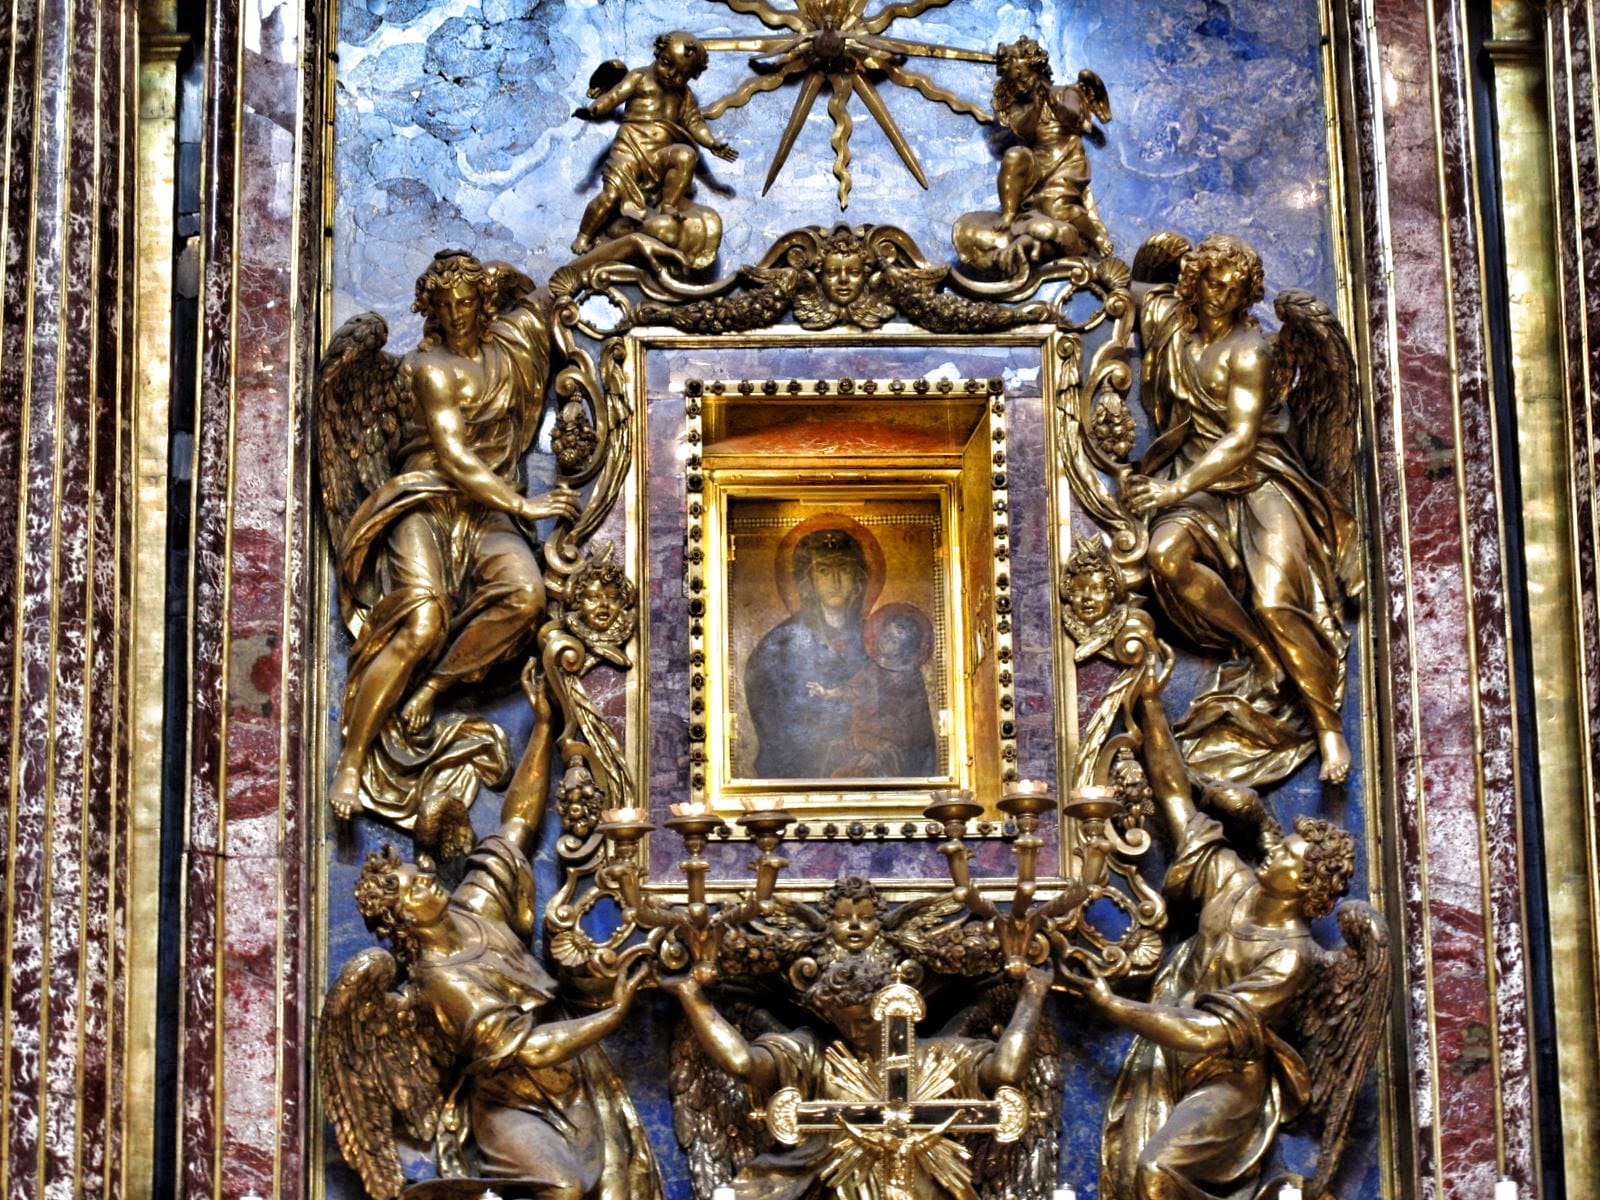
Rome’s religious heritage is just as visible. Images of the Madonna and Child appear in grand churches and quieter corners throughout the city. They reflect the influence of Catholic tradition on Rome’s art and identity.
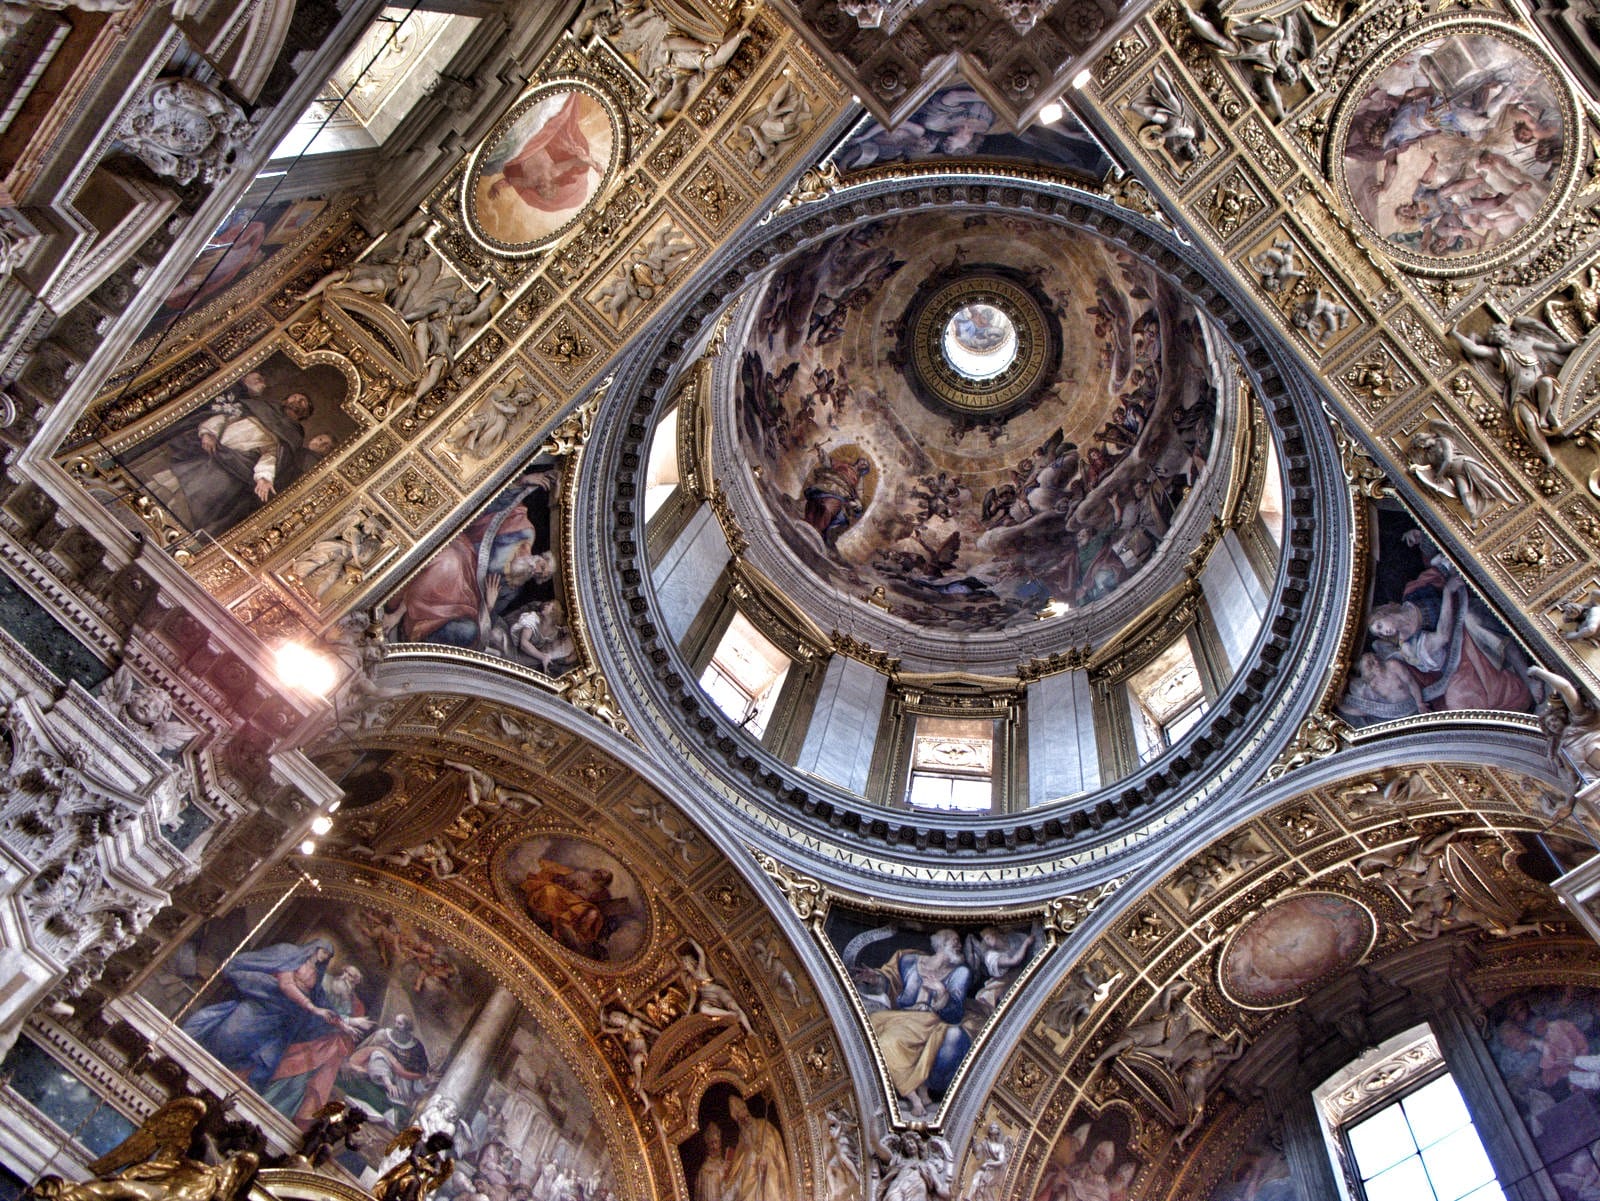
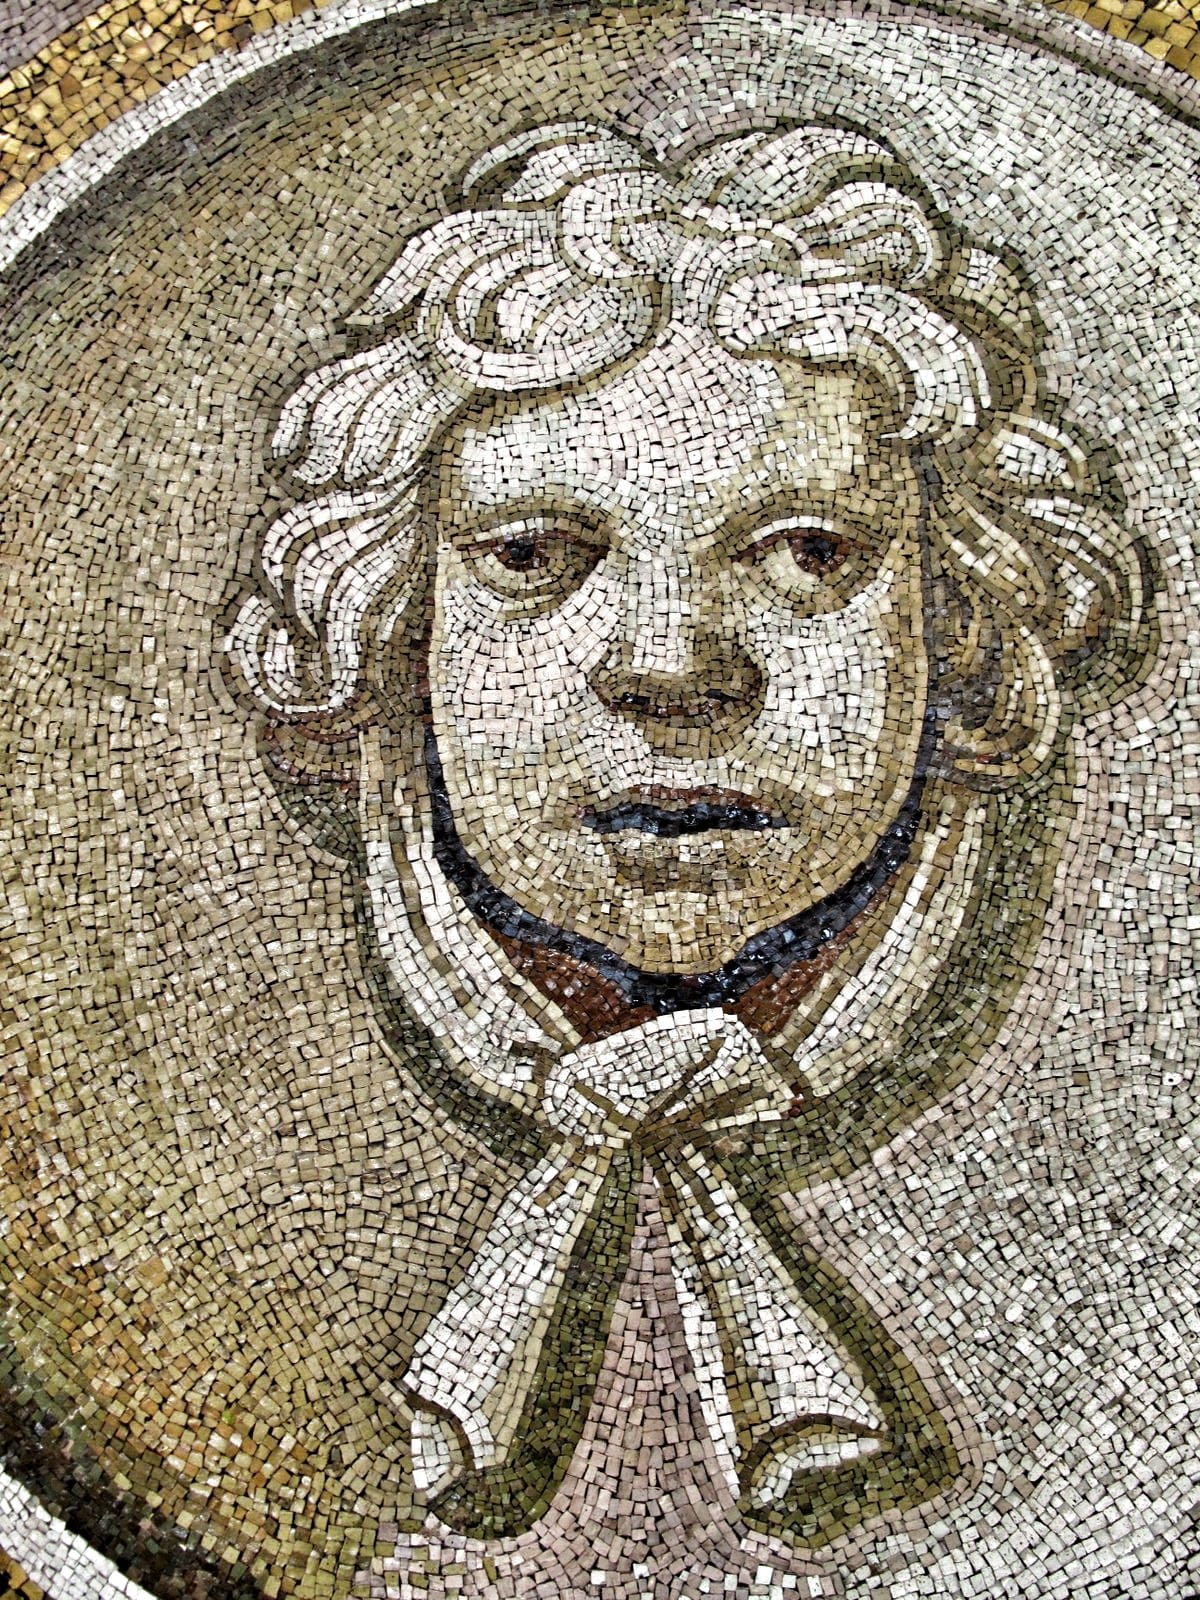
Vatican City offers another sense of scale. St. Peter’s Basilica is monumental, inside and out. Its architecture, decoration, and mosaics reward a close look; the detail is remarkable.
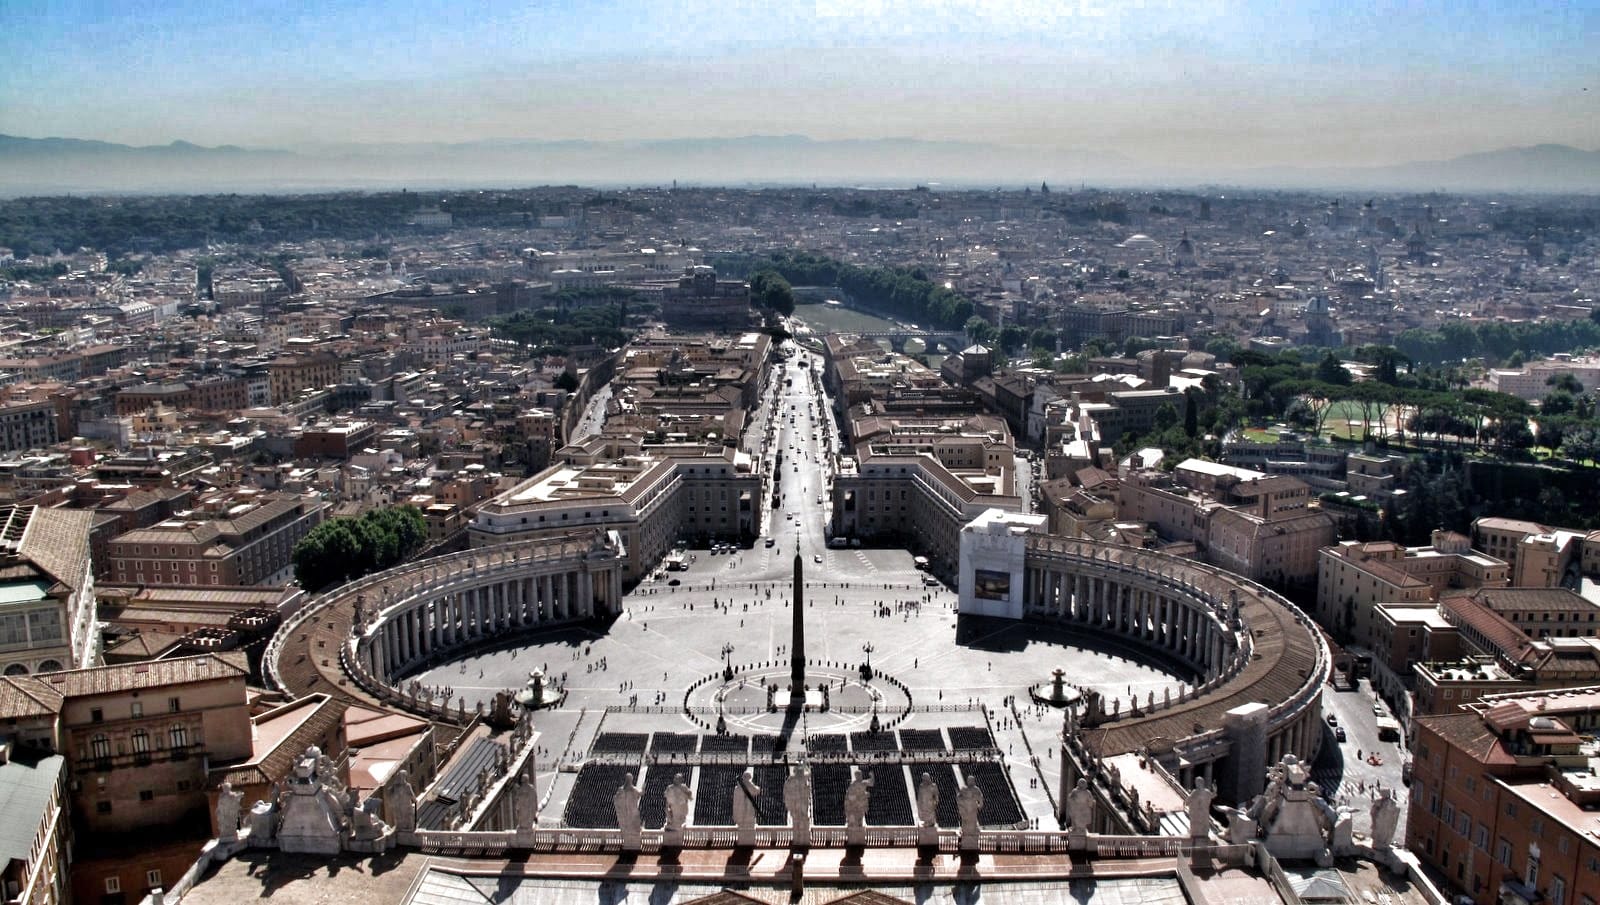
The view from the top of the dome is worth the climb. St. Peter’s Square spreads out below, with Rome beyond it. From above, the square’s scale becomes clear—a striking contrast to the intricate details inside the basilica.
View inside part of the massive Roman Forum.One of the many representations of the Madonna and Child found around Rome.View of the Vatican from the top of the basilica dome. St. Peter’s Square is in the foreground.Inside of St. Peter’s Basilica, “the greatest of all churches of Christendom”.One of the many ornate Mosaics found throughout the Vatican.
A Journey Further Back in Time: Pompeii
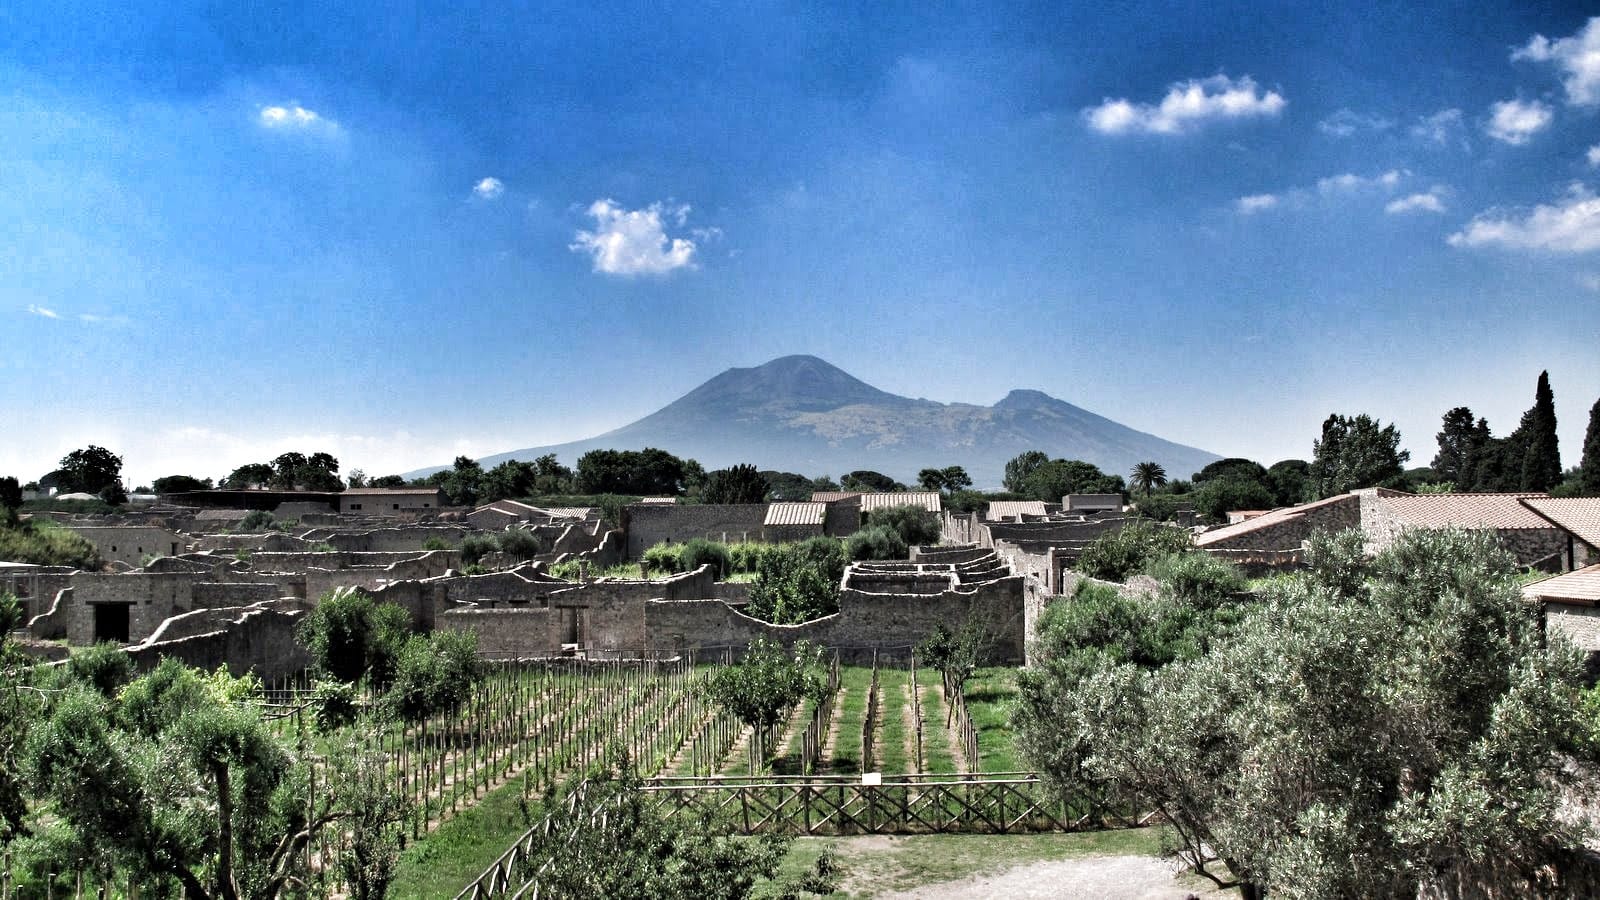
The Roman world extended far beyond the capital. Pompeii, buried when Mount Vesuvius erupted in AD 79, offers an unusually vivid picture of life in a Roman city.
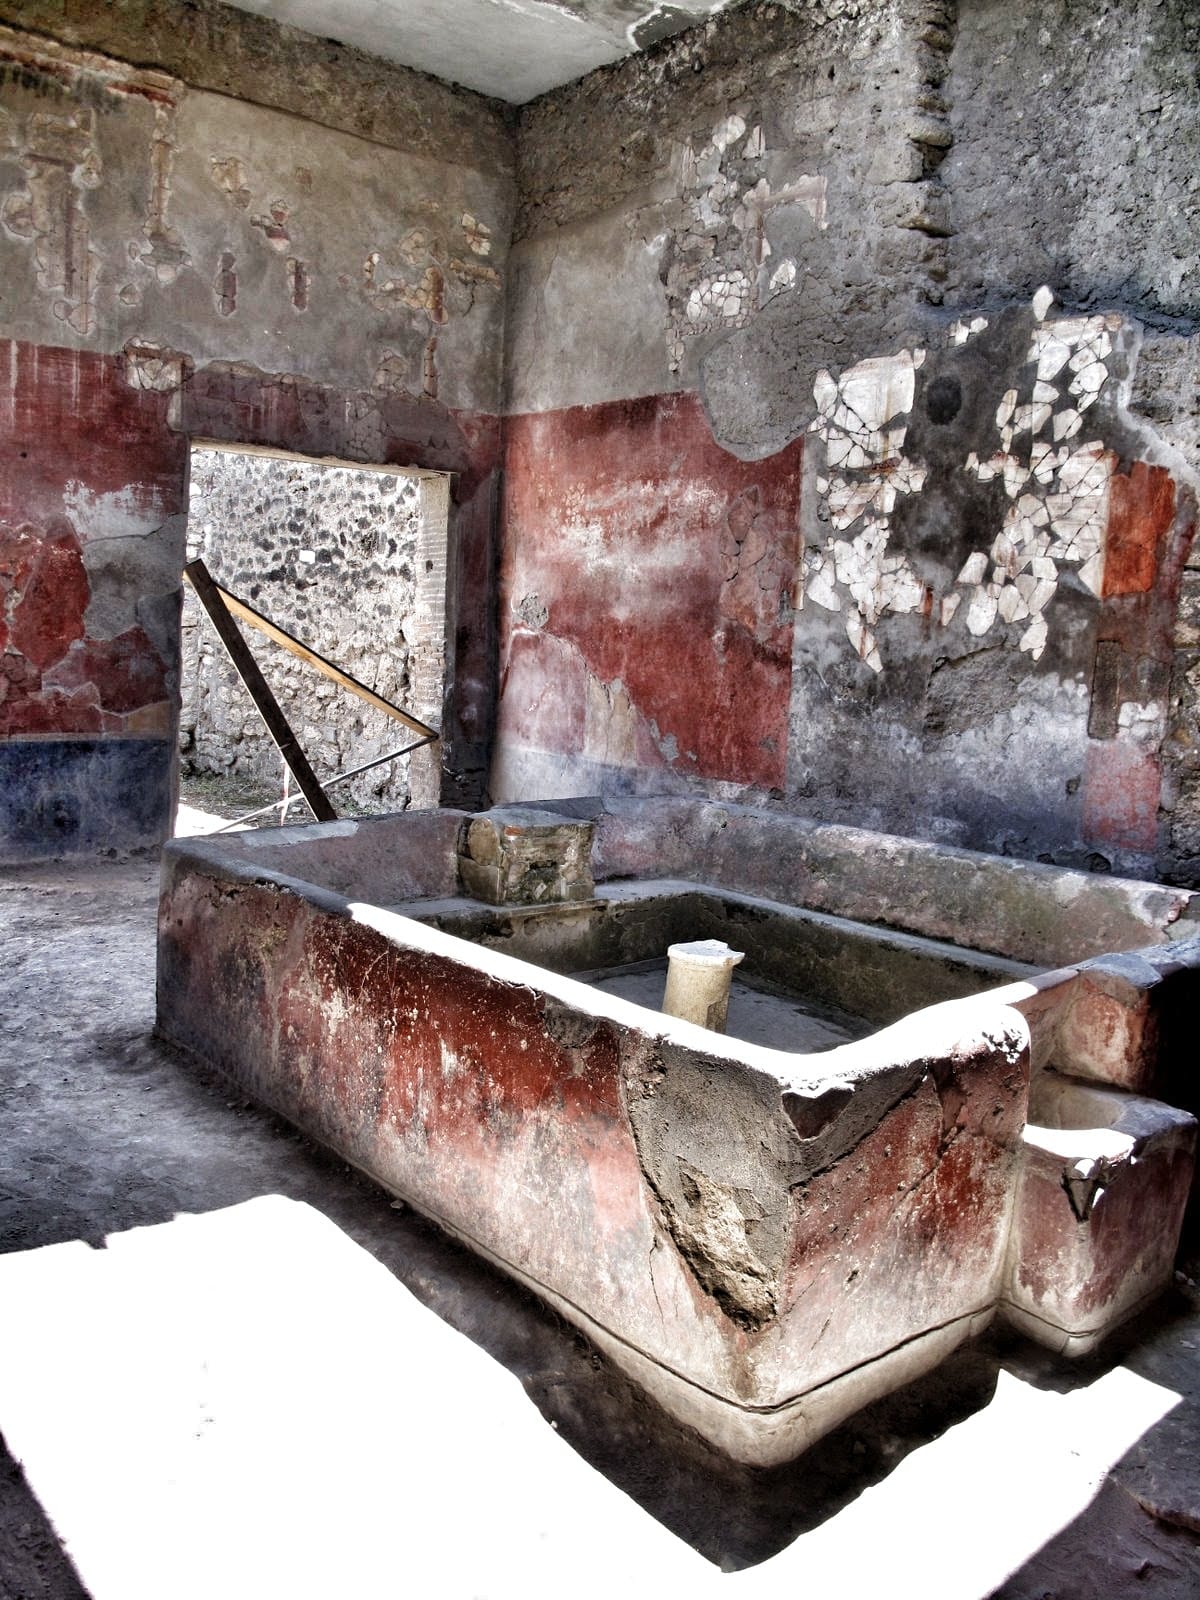
Rather than a few isolated monuments, Pompeii is an extensive town you can explore on foot. Its streets, buildings, and public facilities reveal how people lived. The remains of bathing areas, for example, offer a glimpse of the routines and social customs of the time.
Ordinary places can be the most compelling. A street corner or bathing room may seem unremarkable at first. Then you remember that people used these spaces nearly two thousand years ago. Pompeii makes the past feel close.
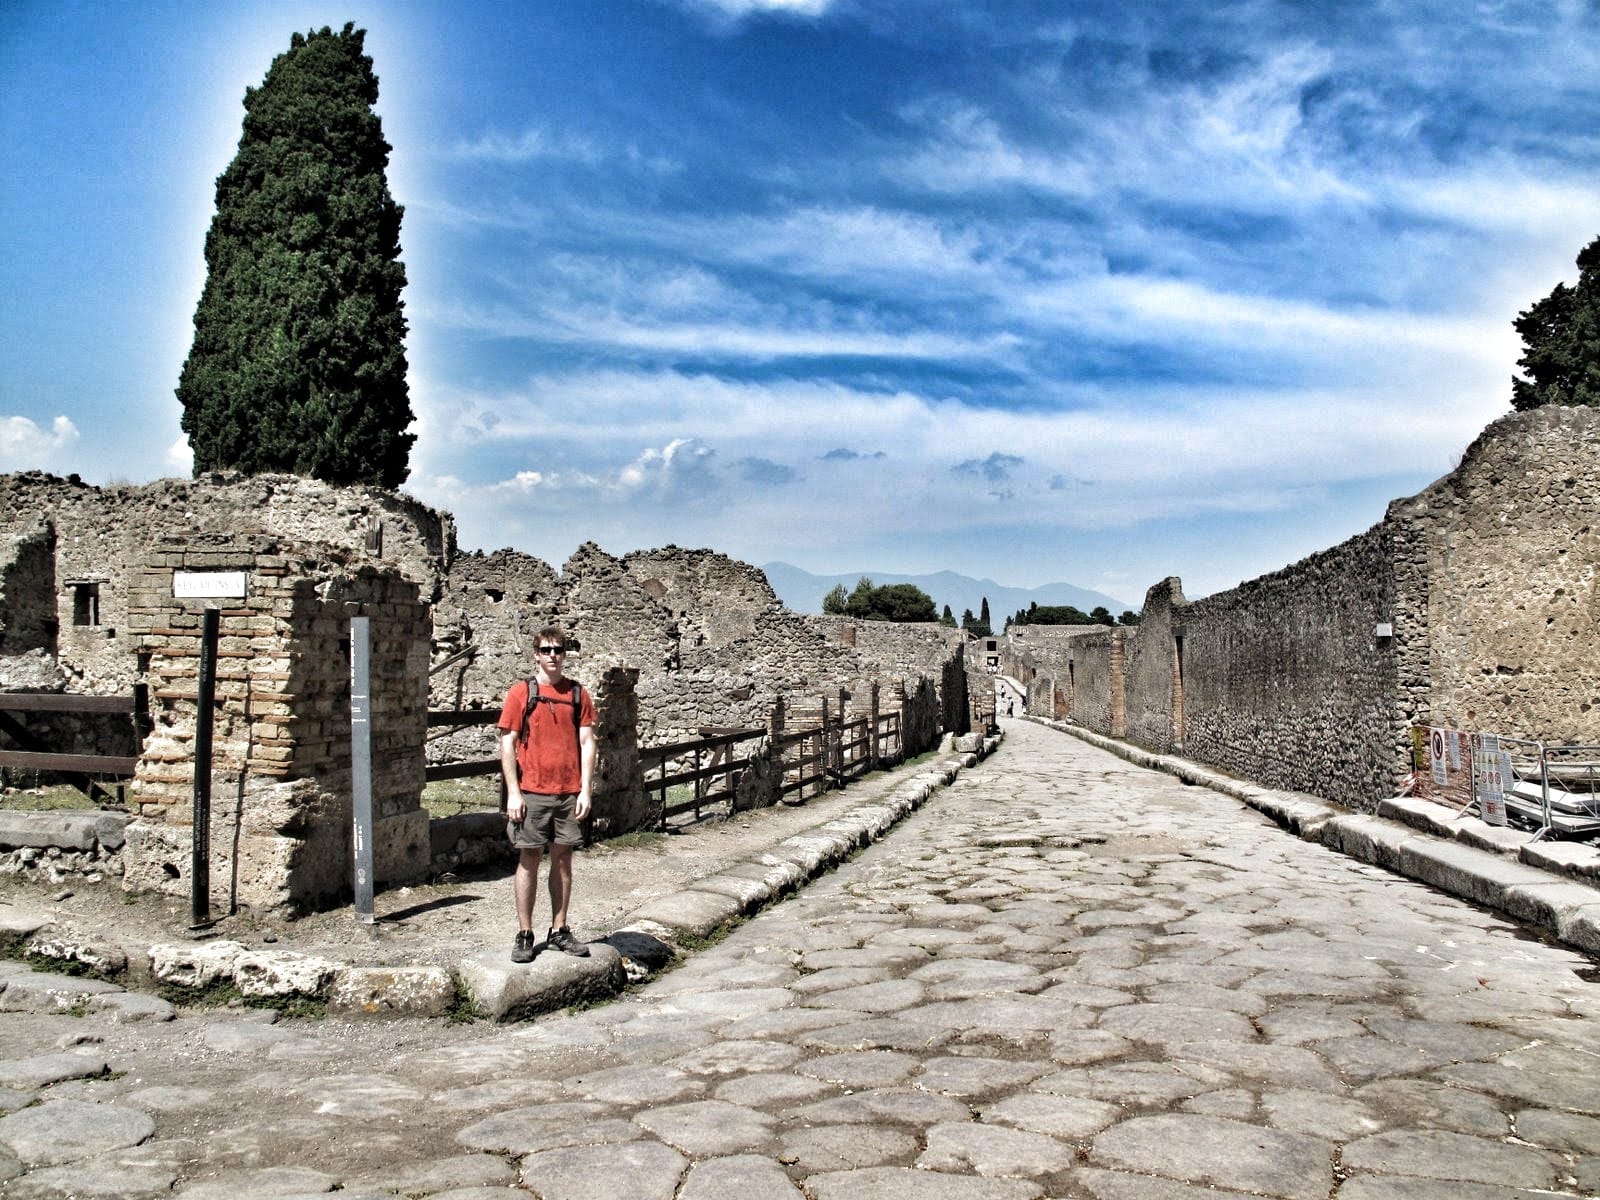
The excavated remains of Pompeii, an ancient Roman city that was destroyed when Mt. Vesuvius blew its top in AD 79.Interior of a bathing facility at Pompeii.Standing on a street corner; Pompeii is a massive complex.
Rome Is More Than Its Landmarks
Rome’s greatest attraction may be the way history appears at every turn. The famous sights live up to their reputations, but the city also rewards curiosity. A church holds a masterpiece. A quiet corner reveals a piece of religious history. A public square connects the present with centuries of daily life.
The Vatican and Pompeii deepen that experience. One reflects the artistic and religious influence of the Catholic Church; the other preserves a community interrupted in a single moment. Together, they offer a wider view of the people and civilizations that shaped this part of the world.
These photographs capture only a fraction of what the area has to offer. Rome is too rich to absorb in one visit. There is always another street, monument, church, or piece of history waiting around the corner.
Rome really is something else.
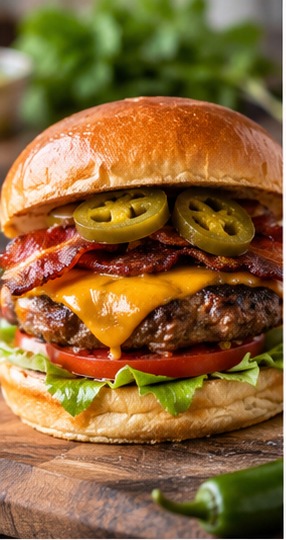
Jalapenos mellow out when cooked adding a nice, sweet heat to burgers
A long time ago, a few high-school friends and I decided that adding chopped jalapeños to burger meat was the best way to make a burger a little more “manly.” The result was much better than the joke deserved: a juicy burger with a smoky, savory flavor and just a hint of heat.
I’ve tweaked the recipe over the years, but the idea has stayed the same. These are easy to throw together for a cookout, and they’re much milder than people expect when they hear the word jalapeño. They’re usually gone before I get a chance to make a second trip to the grill.
How to Make Jalapeño “Man” Burgers
I typically use 85% lean ground beef, although 90% works if you prefer a leaner burger. Mix the beef with the remaining ingredients and let it rest in the refrigerator for about 30 minutes so the flavors have time to come together. Form the mixture into patties and grill until the patties reach 160°F internally.
You can prepare the mixture a day ahead and keep it refrigerated. The patties also freeze well, which makes these an easy option to have ready for the next cookout.
Espresso powder enhances the flavor of any chocolate. Added to these dark chocolate chip cookies, it makes them extra rich and delicious!
I’m a big fan of New York times and King Arthur’s recipes. Both are my go-to for a lot of baking needs. When I was reading King Arthur’s blog post on the use of espresso powder to enhance the taste of chocolate in your baked goods, I knew I had to try it in my go-to cookie recipe, which is based on a NY Times one. It already made an appearance in my chocolate cupcakes, and they are already a crowd-pleaser.
In this recipe, I substituted in dark chocolate and thought the espresso would compliment the intensity of the chocolate, and I was right. This is now my new go-to.
Instructions to make Dark Chocolate Chip Cookies
Pre-heat the oven to 350 degrees (~180C) and begin gathering your ingredients. Mix your dry powers in one bowl (flour, baking soda, and espresso powder) and set aside. In a stand mixer, cream the butter and add the sugar to combine.
Add the egg and vanilla extract and only beat just enough to mix – maybe 15 seconds. You don’t want to overmix the egg. Add the dry ingredients and again, only mix long enough to make a consistent mixture. Finally hand-mix in the chocolate, separate into cookies and bake for 13-15 minutes.
Combine the flour, baking soda, and espresso powder and set aside
Cream the butter for ~2 minutes, add the sugar, and combine
Add the egg and vanilla and only beat long enough to combine, like 15-30 seconds
Add the dry ingredients, and again only beat long enough until everything is mixed
Hand mix in the chocolate chips
Form into smallish balls and bake at 350 for 13-15 minutes (picture was 15 minutes)
Notes
Don't let the name fool you; in small amounts, espresso powder doesn't add any coffee flavor to your baked goods. It merely makes chocolate tastes more intense and rich.
I no longer buy store made pasta. It’s so easy to make fresh pasta from scratch
Jaimie Oliver is perhaps my all time favorite chef. I first stumbled upon him browsing TV late one night about a decade ago. Hooked by his accent and demeanor I quickly went out and bought one of his cook books. Flipping through his book, one of the first dishes I tried making fresh pasta from scratch. Thus, I went out and purchased a pasta machine (Ed note: I have a Imperia pasta roller but just about any similar type machines will work) and once I figured out how to make it work, it astonished me how easy it is to make fresh pasta from scratch!
First, Make the Fresh Pasta Dough
Fresh pasta is simply flour and eggs – there is nothing more to it. Getting the dough right is the tough part and took me a while to perfect, so I wanted to share my results with you!
Generally speaking 3/4 cup of flour (~90 grams) and 1 egg yields about 1.5 servings, and is a perfect portion for my wife and I (adjust accordingly). First, mix the dough either using a mixer, by hand, or a food processor (I typically start by hand and then move to the mixer with kneading hooks). From this I mix in more flour, a little bit of time, until the dough is no longer sticky. You can tell by pinching it together: when the dough is smooth yet can still be formed into a soft, singular ball without easily falling apart, you are ready to proceed.
Separate the dough into racquetball size balls (about 2 balls per egg you used), cover with saran wrap and let rest for about 10 minutes in the fridge. I will sometimes make this the morning of or during a break at work – it’s ok to let the dough rest longer in the fridge
Second, Roll the Pasta Dough into a Sheet
When the dough has finished resting, begin working it through your pasta roller. Take each ball and it to make it easier to work through the roller. I follow a three step process when working my dough through the roller.
First, begin boiling your water to cook the pasta
Crank it through your pasta machine a time or two, folding it in half after each pass through
When you have a solid, wide sheet of pasta proceed to the next setting and slightlty dust each side of the flattened dough with flour to prevent it sticking in the rollers.
Click the setting down a notch, repeat Steps 1&2 and when you get to the last setting you are ready for cutting!
Finally, Cut the Dough into Pasta & Boil!
Finally, take each flattened pasta sheet and roll it trough your cutter. Then take the cut pasta and throw into a pot of boiling water and cook for no longer then two
minutes. Be mindful, fresh pasta does not need to cook for very long!
A little spicy, chicken tinga is a perfect way to enhance otherwise boring chicken breasts
Chicken tinga (known as tinga de pollo in Spanish) is a Mexican dish made with shredded chicken in a sauce made from tomatoes, chipotle chilis in adobo, chorizo, and sliced onion. The basis of the dish is Tinga Poblana, the Pueblan equivalent of a good Italian meat sauce that is utilizes the smokiness of chipotles. Just as every Italian Grandmother has their own special sauce, variations of the dish are rampant.
This is how we make chicken tinga at home and I based it on several versions I have read both online and in books to make it quick, easy, and palatable at home.
How to Make Chicken Tinga
Begin by bringing a pot of water boiling and adding the whole, skinless chicken breasts with a half onion, some smashed and peeled garlic cloves, and a bouillon cube. Bring it down to a simmer and cook for about 20 minutes or until the chicken is about 165 degrees. Pull the chicken out, shred it with a fork and set the pot of water aside – don’t toss it! We’ll use a little of the liquid later.
While the chicken is cooking begin the tomato puree – open the windows (it can get smoky!) and broil the roma tomatoes with the garlic and tomatillo for the salsa verde (I recommend broiling the ingredients for the salsa at the same time) until the tomatoes blacken in spots (a few minutes) flip and repeat. Puree the roma tomatoes and see the below section on how to finish the salsa.
While the tomatoes are broiling take a heavy, large frying pan and heat over medium heat with olive oil or lard. Add the onion and cook until brown and then add the chorizo and cook until its crumbly, about 8 minutes. Stir in the chipotle chilies, followed by the puree, and add a few tablespoons of the chicken reserved liquid
Cook the sauce until it’s been reduced by half and then add the chicken and and toss to coat. Serve on warmed tortillas with some salsa verde, onion, and cilantro. Congrats you just made chicken tinga!!
How to Make Salsa Verde
As mentioned above begin by opening the windows (it can get smoky!) and broiling the tomatoes, garlic, and tomatillo. For those super adventurous I’ve also done this part on the Green Egg over charcoal! Broil them for a few minutes and then flip half way. The goal is to get a few black spots on each side (but not burnt!).
You want the tomatoes to be soft and juicy as the broiling will help caramelize the sugars. This will make a slightly sweeter salsa verde vs just using raw ingredients.
Take the roasted tomatoes, onion and garlic and blend them with the Mexican oregano and honey to get a puree. Set aside to let cool – easy!
1-2 whole chipotle peppers from can (with adobo sauce) chopped and some reserve adobo sauce
Chopped cilantro (optional)
Instructions
Salsa Verde
Place the unpeeled onion halves, whole serrano, unpeeled garlic on a over tray and broil for a few minutes, flipping half way until blackened in spots
Peel the garlic, onion, and remove the serron stems and place them with the rest of the ingredients in a blender and puree until smooth
Set aside to cool
Chicken Tinga
Boil a pot of water and add the whole, skinless chicken breasts with a half onion, some smashed and peeled garlic cloves, and a bouillon cube.
Bring it down to a simmer and cook for about 20 minutes or until the chicken is about 165 degrees.
Meanwhile, Broil the tomatoes for a few minutes on each side, until blacked in spots. Puree
Heat a large frying pan at medium with olive oil or lard for a few minutes to warm
Add the onion and cook until softened and then add the chorizo and cook until its crumbly, about 8 minutes.
When done, remove the chicken from the pot, shred it with a fork and reserve a few tablespoons of liquid
Stir in the chipotle chilies, followed by the roma tomato puree, and add a few tablespoons of the chicken reserved liquid
Cook the sauce until it's been reduced by half and then add the chicken and and toss to coat.
Serve on warmed tortillas with the salsa verde and some diced onion and cilantro
Notes
You can adjust the spiciness by adding more or less chipotle and serrano peppers.
Cilantro can be a controversial ingredient. It's banned in our house but feel free to add it to either the chicken tinga or salsa verde.
If using store bought tortillas, warm them a bit on a griddle or cast iron skillet and put wrap them in a kitchen towel to make them soft before adding the tinga.
Smoked wings are one of the easiest and quickest things one can cook “low and slow.” Typically, at 225° wings can be done in as little as 2.5 hours, far faster than pork shoulder or ribs. Smoking wings make them tender, juicy and finger licking good. Prepare to be amazed!
I was browsing online for ideas for this year’s super bowl party and I came across these amazing looking wings on the Washington Post. I’m still relatively new to the Green Egg, but since I got, I adapt every recipe for grilling on the Green Egg. If you don’t have one, this recipe should do well on any type of smoker.
These wings are easy, tasty, and will be gone quickly! Their salty sweetness balances well with a mild wood (I used Cherry). The original recipe called for baking at 400 degrees, which the Green Egg can do, but I wanted a low, slow smoked flavor. The higher heat causes the sauce to become sticky as the sugar caramelizes. To replicate that stickiness, I boiled down the leftover sauce to get it nice and thick and then gave the wings a second coat about an hour in to the cook.
How to Make Smoked Tar Pit Chicken Wings
Prep the ingredients and combine the sugar, ginger, soy sauce, and dry red wine in a small sauce pan over medium heat until the sugar is dissolved
Coat the wings in the sauce and set in the fridge to marinate for at least 30 minutes. Take a sip of that leftover wine, you deserve it.
While the wings are marinating, prepare your smoker for 225.
When the grill is prepped and the wings have marinated, place the wings on the smoker but save the sauce, you’ll need it later!
Put the leftover sauce in a small pan and reduce until it’s nice, and thick – about half
About an hour into the cook – take the now reduced sauce and give the wings another coat on both sides
You have a thermometer right? The wings will be done when they hit an internal temperature of 165. This should be about 2~2.5 hours.
Try these out and let me know your results. I’m always learning!
Recipe and Instructions for Smoked Tar Pit Chicken Wings